Modular Game Props with Blender Geometry Nodes
A practical pipeline for building reusable kitbash props in Blender using Geometry Nodes—without baking yourself into a destructive mesh every time you tweak a panel.
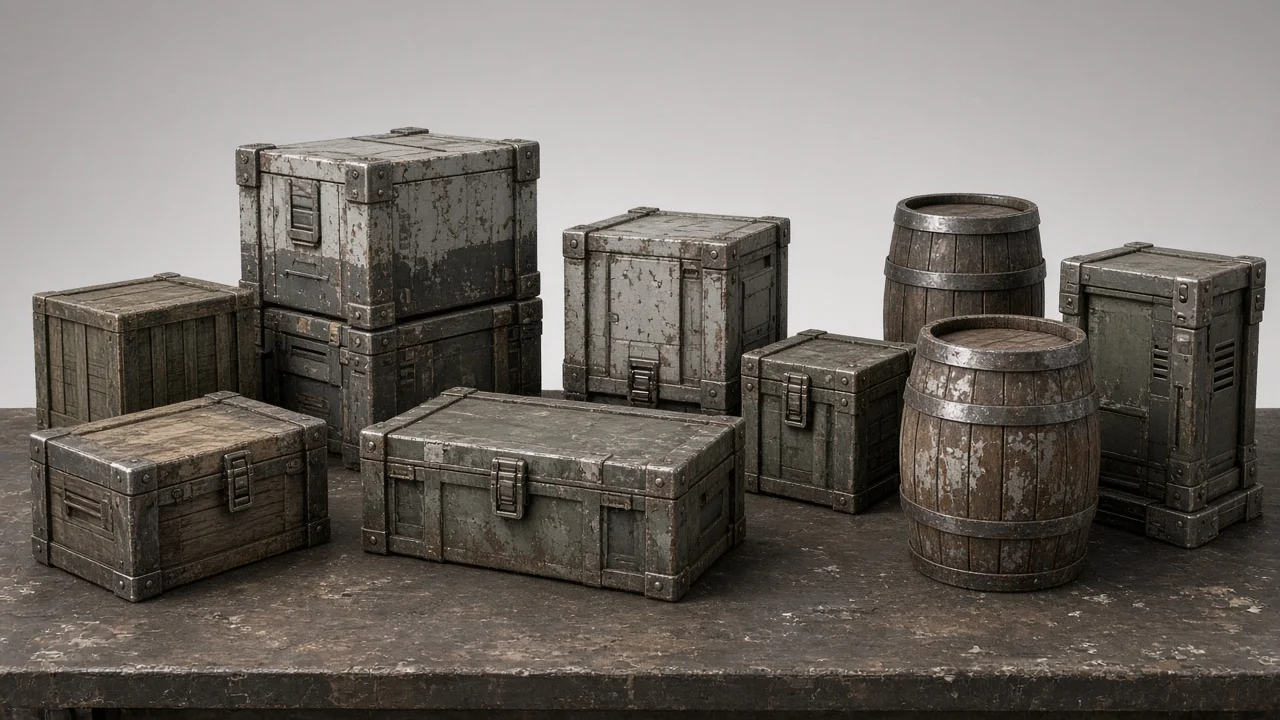
Game art teams still ship a surprising amount of modular props the old way: duplicate a mesh, apply a mirror, boolean a cutout, realize the instance, and hope nobody asks for a thinner bevel two days before lock. Geometry Nodes will not replace judgment or art direction, but it does let you keep the variation knobs alive until the moment you actually need a baked asset for the engine.
This article walks through one concrete workflow: a small wall-and-panel kit where thickness, bolt count, wear slots, and corner treatments stay procedural until export. The goal is not a tutorial dump of every socket—it is a production-minded pattern you can steal for crates, pipes, vents, and sci-fi cladding.
Why modular props break without a node graph
Most kitbash libraries die from three habits:
- Destructive edits land too early. Artists apply modifiers to "see the real mesh," then lose the ability to retarget the same base to a taller corridor or a thinner floor plate.
- Variation is copy-paste. Ten wall segments become ten separate
.blendobjects with slight bevel differences. Bugfixes do not propagate. - Engine constraints arrive late. Nanite, LODs, lightmap UVs, or a hard triangle budget show up after the art is "done," so the fix is a panicked rework instead of a parameter change.
Geometry Nodes push those decisions into named inputs. You still export a normal mesh. You just decide when the mesh becomes dumb.
Scope the kit before you open the node editor
Pick a single kit that has clear rules. For this walkthrough, assume a corridor cladding set:
- Base panel size: 2m × 3m (adjustable)
- Frame thickness and inset depth as inputs
- Optional bolt rows along the long edges
- Optional grated cutouts with controllable density
- A "wear" boolean that adds shallow edge chips via a controlled scatter
Write the constraints on a sticky note before nodes:
- Must export as a single mesh per variant (no live node dependency in-engine)
- Must support UDIM-friendly UV packing after realize
- Triangle budget target: under 8k for hero panels, under 2k for background LODs
- Materials: one trim sheet + one detail atlas, not unique textures per panel
Those constraints keep the graph honest. Geometry Nodes can generate infinite noise; shipping needs finite, readable variation.
Build the base as a controllable cage
Start with a plane or a thin cube that represents the outer panel bounds. Expose:
- Width / Height (meters)
- Thickness
- Bevel width (for a later Bevel or custom profile)
- Inset amount for the inner plate
Use a Frame and rename every Group Input. Future-you will thank present-you when the graph has forty nodes. Prefer meters and degrees in the UI labels so designers can tweak without reading the tree.
A useful pattern: keep the outer frame as one mesh island and the inner plate as another until the very end. That makes material assignment and UV seams predictable—outer trim vs center fill.
Variation without forking the file
Instead of duplicating the object ten times, drive variation from a small set of integer and float inputs:
- Bolt density (0–1 or discrete count)
- Grate mode (none / sparse / dense)
- Corner style (chamfer / fillet / hard)
- Seed for any scatter-based wear
Store presets as Geometry Node modifier presets or as a simple JSON/CSV of parameter packs that a script applies before batch export. The important part is that the source of truth remains one node group.
When a producer asks for "three darker, thicker panels for the reactor room," you change thickness and seed, export three FBX/GLB files, and move on. You do not fork the blend into wall_reactor_v3_FINAL2.
Cutouts and bolts that stay editable
For grated vents, avoid booleaning high-poly cylinders into the panel mid-graph if you can help it. Prefer:
- Instance a low-poly grate module along a grid.
- Realize instances only when the silhouette is approved.
- Use Mesh Boolean (or a carefully modeled inset) at the end if the engine needs true holes for lighting.
Bolts are classic instance fodder: a tiny hex mesh instanced on edge points sampled by length. Cap the count. A "hero" panel can afford denser hardware; a distant LOD should drop bolts entirely via the same input set to zero.
Keep UVs and materials in the conversation
Procedural mesh generation loves to ignore UVs. For game props, that is fatal.
Practical rules that work on real kits:
- Generate the base panel with clean, manually unwrapable topology before heavy scattering.
- Apply world-aligned or box projection only for blockouts—not for shipping UVs.
- After Realize Instances, run a dedicated UV step (or a known good unwrap operator via script) and pack to your trim sheet.
- Assign materials by attribute or selection before export so the FBX does not arrive as one mystery material.
If your pipeline already uses Blender's UV packing add-ons or a DCC exporter script, call that after the node group is applied and converted to a mesh. Geometry Nodes are the modeling brain; the export script is still the shipping gate.
LOD and engine handoff
Treat LODs as parameter packs, not separate art projects. LOD0 keeps full bevels, bolts, and dense grates (≤8k tris). LOD1 softens bevels and thins hardware (≤3k). LOD2 is a flat silhouette with bolts off (≤800). Bake those packs into export; artists review LOD0 while automation emits the rest overnight.
For Unreal or Unity, export static meshes with a consistent pivot (bottom-front-left or center—pick one and never change it mid-project). Name files by kit + params hash or preset name so reimports overwrite cleanly.
What not to put in the graph
Geometry Nodes are a poor place for:
- Final painted vertex colors meant for unique storytelling beats
- One-off hero sculpts that will never reuse parameters
- Full material authoring (keep shaders in the engine or a dedicated lookdev scene)
If a prop is truly unique, model it uniquely. Procedural kits shine when the world needs many similar things with controlled differences.
A one-week adoption plan
Rebuild one wall panel as a node group with five inputs, add bolt/grate modes with a triangle budget, then wire apply → realize → UV pack → FBX. Ship three presets into a level slice and rename any input that confuses non-technical reviewers. The win is simple: thickness changes update every preset without mesh archaeology.
Closing
Modular props are a systems problem disguised as art. Blender Geometry Nodes will not invent good design, but they keep your kit alive until export—exactly when most pipelines accidentally kill it. Start with one boring panel, expose the knobs that producers actually ask about, and refuse to apply the modifier until the shipping checklist says so.
That discipline is less glamorous than a node tree screenshot, and it is what makes the kit reusable six months later when the art director wants "the same walls, but 12% taller."